First system setup
Access to the system settings
Once you have registered for a free trial, your system will automatically be created, ready to start.
You will be given your first access codes, and after logging in, you will see the dashboard.
Before you start
Before you start adding jobs, there are a few things you might want to do.
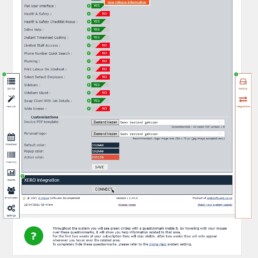
Overwhelming
This may look a bit overwhelming at first, but for almost every setting there is in-line help information available, (hover over the green circled question mark for the setting description).
Company profile
Complete your ‘Company profile’ first and change your password!
The country code in your profile determines the address formatting for clients and jobs.
If you are planning on connecting the system to Xero, then also select ‘use Xero integration’ in your profile.
Application settings
Next, go through each application setting parameter to select the setting that suits you best.
Xero integration
Connect to Xero
To connect the system to Xero, you have to check the 'use Xero integration' in your Company profile, as well as set the Xero Integration to YES.
After having saved your profile and settings, an extra 'Xero integration' section will appear at the bottom of the setting page.
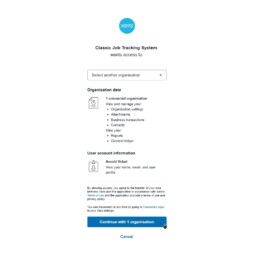
Xero authorisation
The [CONNECT] button will take you to Xero for authorisation.
You will automatically return to the system's Xero integration section once authorised.
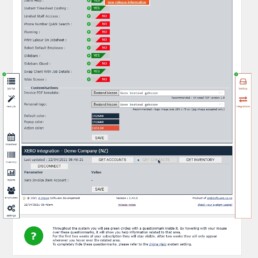
Retrieve Xero data
Here, you can retrieve your Xero Accounts, Contacts and Inventory.
Reload the settings page once more to select the default, 'Xero Invoice Item Account'.
Ready to get cracking with an easy system?
With a trial period of two weeks (or more on request), unlimited users and fair use policy, all for a fixed monthly rate, there’s nothing that will hold you back from giving it a try.